Launch the Recorder
Once installed, launch it by clicking its icon from the menu bar in your browser.
Welcome Screen
Launching iTMS recorder by click on the icon from menu bar in the browser. Upon launching the Recorder you will be presented with a welcome dialog.
This will give you quick access to the following options:
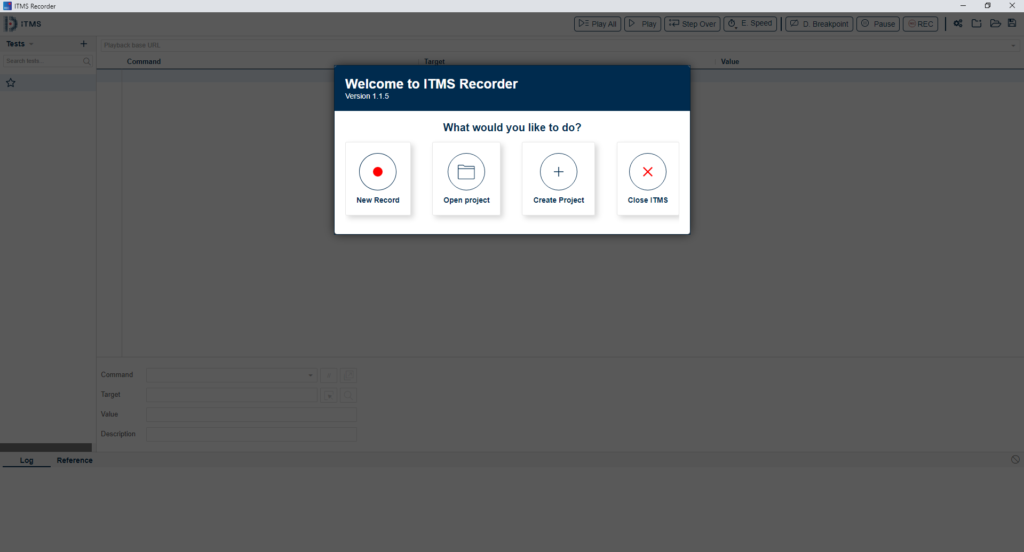
- Record a new test in a new project
- Open an existing project
- Create a new project
- Close the IDE
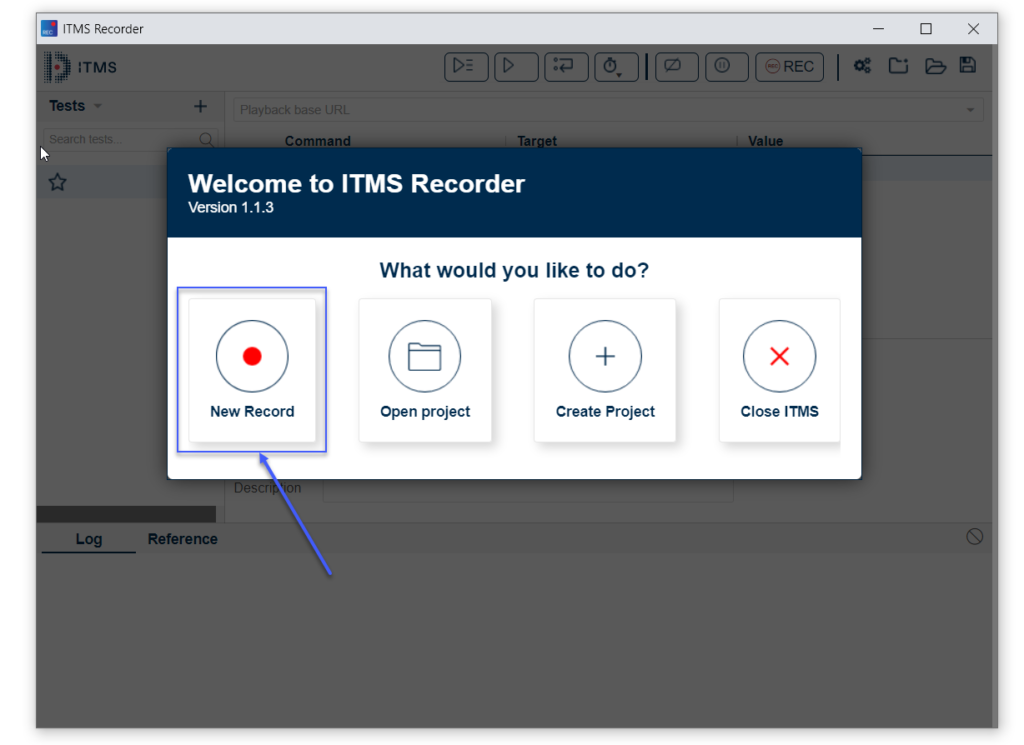
Recording a UI test
- Select New Record
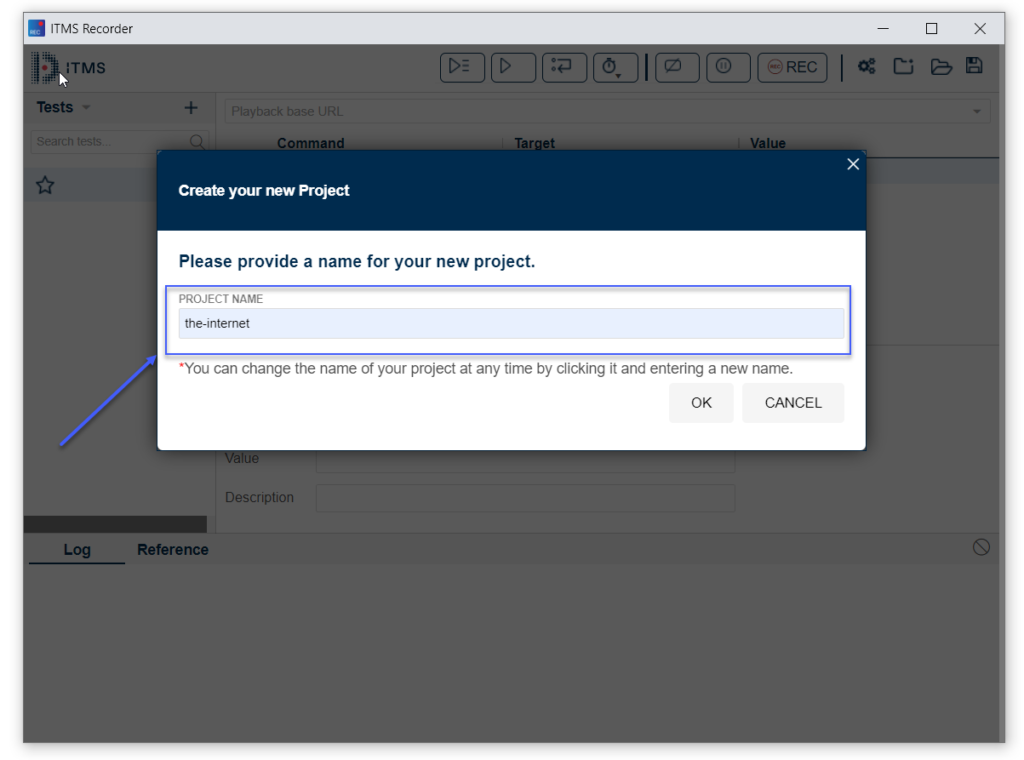
2. Enter your project’s name then click Ok
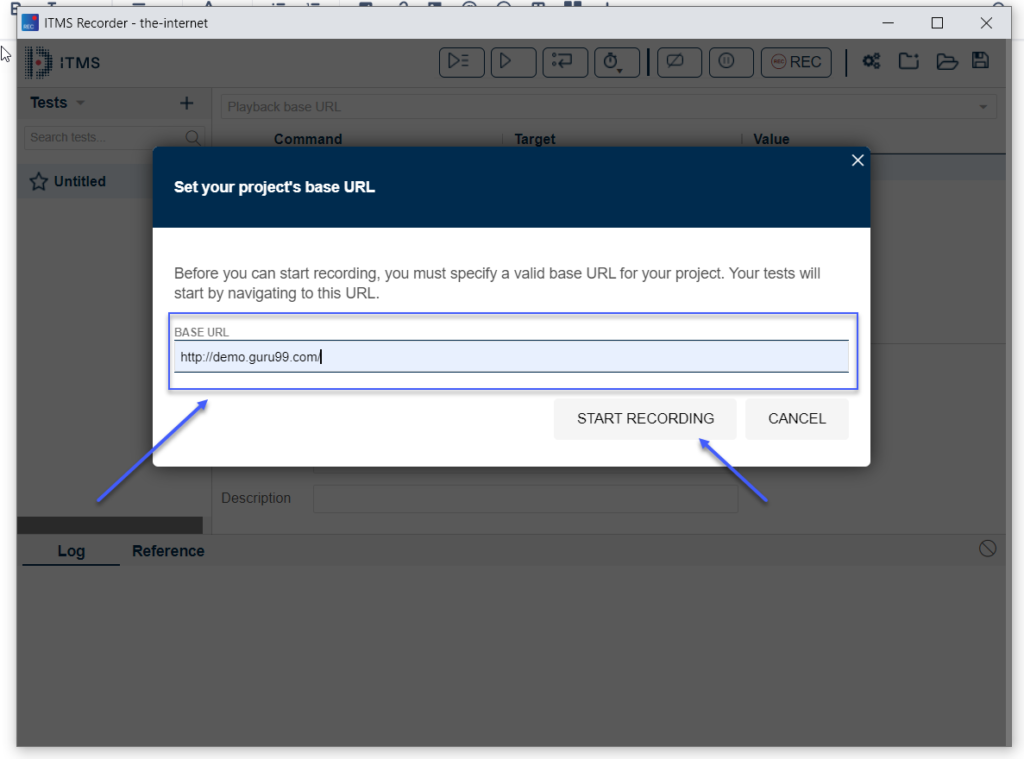
3. Enter project base URL (url of the site you want to test) then click Start Recording:
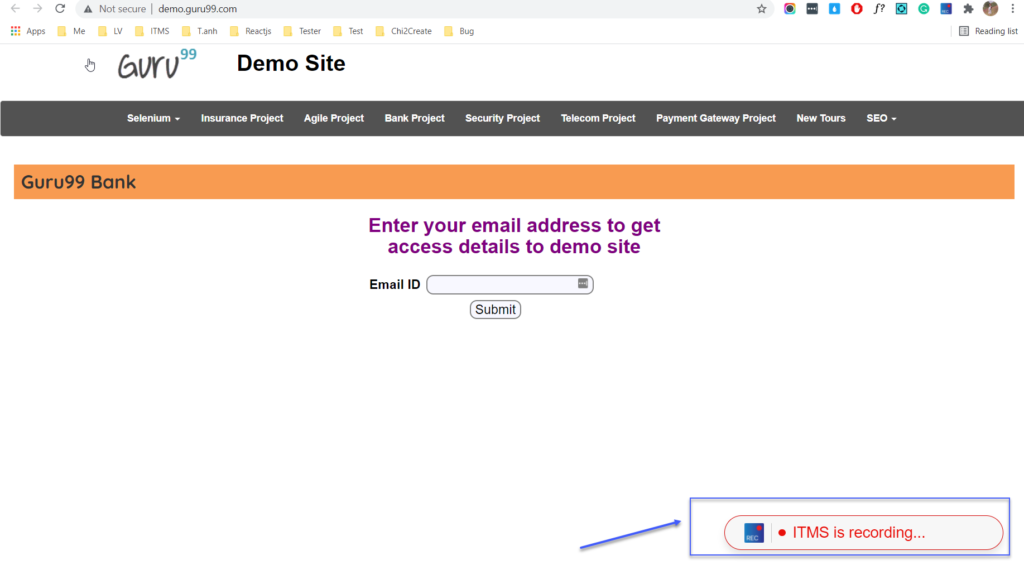
4. The Base URL given in the above screen will be opened automatically in a new & fresh instance of chrome browser and the iTMS is Recording indication will be displayed on the bottom right:
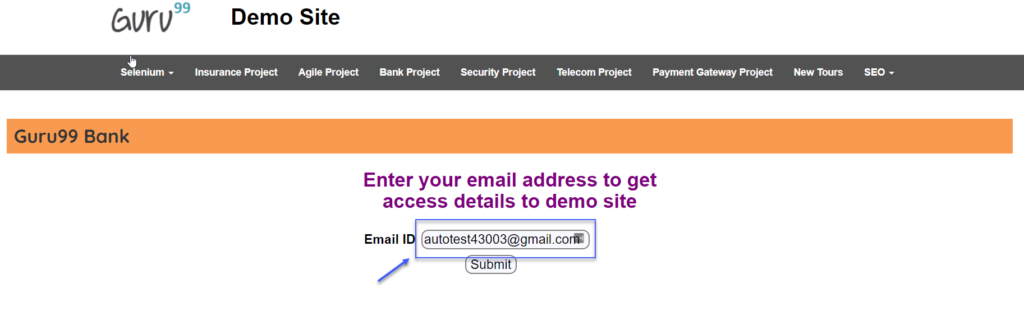
5. As you are in recording mode, your interactions with the site will be recorded (or say generate automation script) in the IDE. Let’s perform a small action say ‘Type email text into the Email ID box field’ and click on ‘Submit’ button as shown below:
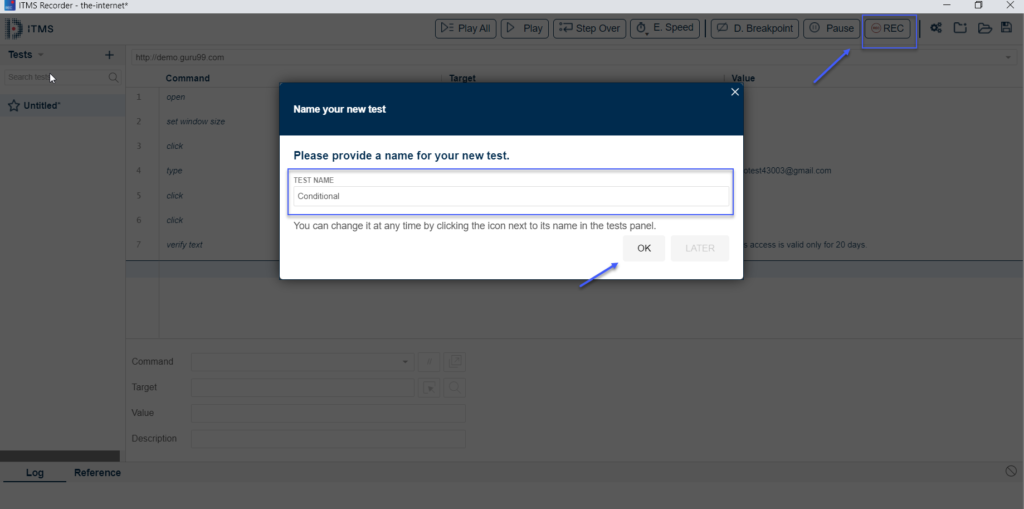
Now switching to the Recorder (or IDE) you will see the automation script was generated:

6. Once you finish recording, click on REC button on the top right or Ctrl+U to stop your test:

Enter test name and click OK to save the script:
The test that you record will be appeared in the Test panel.
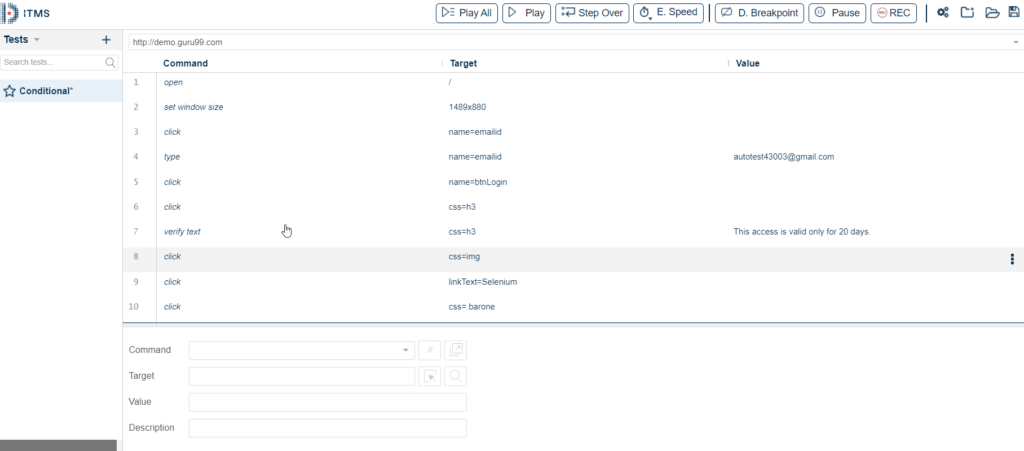
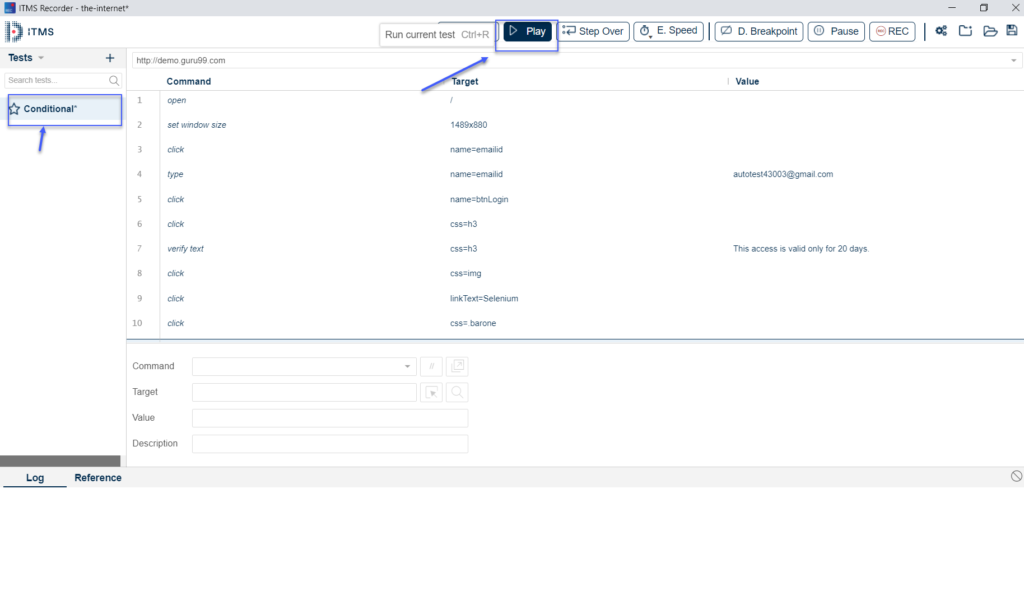
Playback a GUI test
- Select a test that you recorded then click Play button:
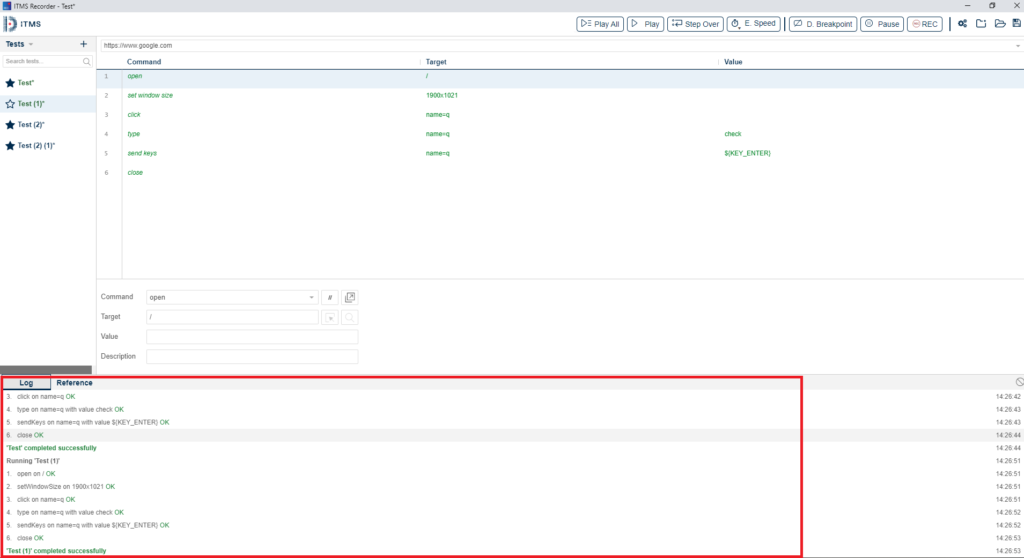
2. During the playback, you can check the log of the current process in the log panel at the bottom of the IDE.
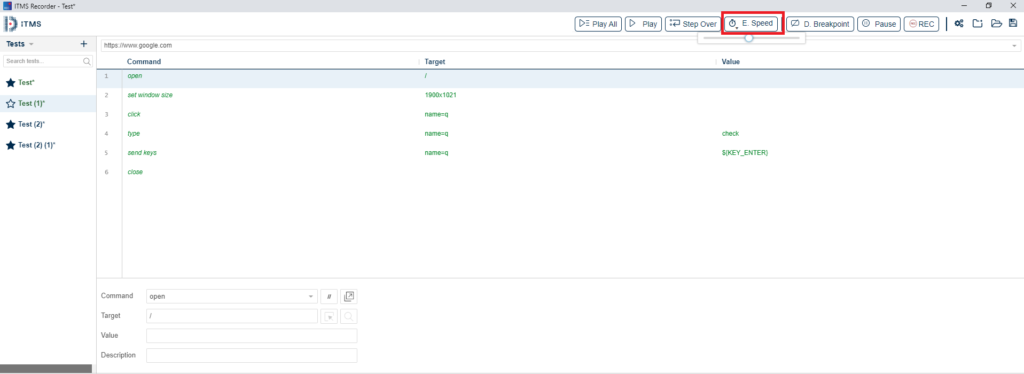
If the playback is too fast or too slow, click on E. Speed button and adjust the execution speed